On this page
The 11-month warranty inspection is a full inspection of a new home a month before the first-year builder warranty tier closes, done by you or by an independent inspector, with every finding sent to the builder in writing before the date. The first tier is the widest coverage the warranty offers, covering workmanship and materials, and it closes first. Whatever is not reported before it closes is commonly outside the warranty from then on. The inspection is the last look with that leverage.
This post is the checklist. The warranty timeline explains where the inspection sits in the two-year arc; what the workmanship, systems, and structural tiers cover explains what the list can include.
Why does the 11-month inspection matter?
The 11-month inspection matters because a year of living in the house has revealed what the walkthrough could not: the drywall has cracked where the framing dried, the doors have moved, the caulk has opened, the grading has settled, and every fixture has been used through a summer and a winter. All of that is commonly workmanship, and workmanship coverage is the tier that closes first. After the date, the same crack is yours.
Many builders handle settling items once, in a single visit near the end of the first year, which is a second reason to send one complete list rather than a trickle. A list of dozens of small items sent together gets scheduled as one repair day with the right trades. The same items sent one at a time over the following months are each a separate argument about whether the window was still open.
When should you schedule it?
Schedule the inspection a month before the workmanship tier ends, and schedule the sending of the list for the same week, not later. Find the effective date in the warranty document (often the closing date, sometimes earlier), add the tier's length, and count back a month. Put that date on the calendar the day you read the document; it will otherwise arrive unnoticed.
If you are hiring an inspector, book them well ahead; new-construction inspectors are busy in the months when a subdivision's closings all reach their first anniversary. If you are doing it yourself, block a full weekend day with daylight, and do it after a rain if you can, so the drainage and any roof or window leaks show themselves.
Should you hire an inspector or do it yourself?
Hire an independent inspector if you can. An inspector who does new-construction work knows what fails in your builder's type of house, brings the tools for the attic, the roof edge, and the outlets, and writes a report in the form the builder's warranty staff read every week. Doing it yourself is better than skipping it, and the checklists below are written for that case, but the inspector's report carries more weight than a homeowner's list.
Ask a prospective inspector whether they do warranty inspections on new homes specifically, what their report looks like, and whether they will separate warranty-type items from maintenance advice. How to read a home inspection report explains the layout you will get back and how to sort it; for the 11-month version, everything is a candidate for the list and the document decides the rest.
What should you check inside?
Inside, check every surface, opening, and fixture the way you did at the walkthrough, but with a year of evidence: cracks and nail pops in drywall, doors and windows that rub or fail to latch, trim that has separated, caulk that has opened in wet areas, tile and grout cracks, floor squeaks and gaps, cabinet doors out of alignment, every faucet and drain, every toilet, every outlet and switch, every fan, and every appliance through a cycle. Photograph each item with something for scale and a note of where it is.
Inside, room by room
- Walls and ceilings: cracks at door and window corners, nail pops, seams showing, texture or paint failures
- Doors: rubbing, not latching, gaps at the strike, exterior doors with daylight or a draft at the edge
- Windows: hard to operate, fogging between panes, cracked caulk, water stains on the sill
- Floors: squeaks, gaps, cupping, loose or cracked tile, grout cracks, carpet seams showing
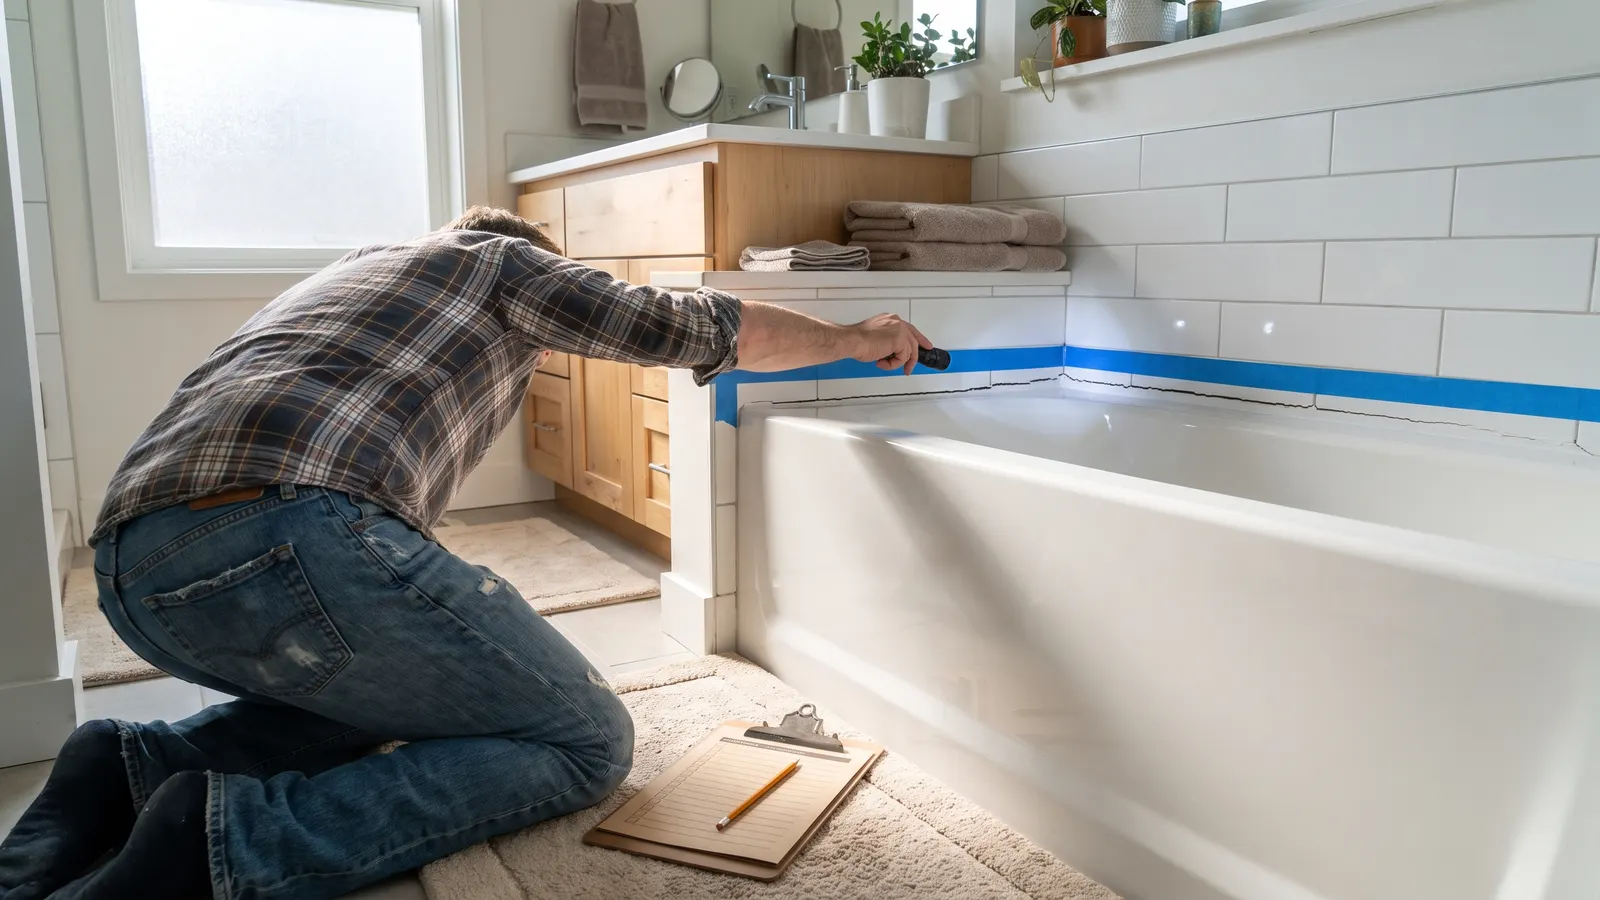
- Wet areas: caulk at tubs, showers, counters, and backsplashes; any softness at the tub or shower edge
- Plumbing: drips under every sink, slow drains, toilets that run, water heater relief valve discharge, water stains anywhere
- Electrical: every outlet with a plug-in tester, GFCI and AFCI test buttons, switches that do nothing, warm cover plates
- HVAC: every register delivering air, the condensate line draining outside or to a drain, filter locations
- Attic: daylight through the roof deck, water stains, insulation gaps, exhaust fans that end in the attic
Measure what the warranty measures. If the document gives a tolerance for a crack width or a floor out of level, put a ruler or a level in the photo, so the item is reported against the document's own number. That turns "cracked drywall in the hall" into a claim the builder's staff can approve without a site visit to decide whether it qualifies.
What should you check outside and in the attic?
Outside, walk the whole perimeter after a rain and look for water first: soil that has settled toward the foundation, downspouts that discharge at the wall, puddles, and stains or efflorescence on the foundation. Then the surfaces: siding and trim gaps, caulk at every joint and penetration, exterior paint failures, concrete cracks in the driveway and walks, the garage door and opener, exterior lights and outlets, hose bibs, and the roof from the ground.
Outside and up
- Grading and drainage: slope away from the house on every side, downspout extensions in place, no standing water
- Foundation: cracks photographed with a ruler and a date, stains, white deposits, gaps at the sill
- Siding, trim, and caulk: separated joints, open caulk, nail heads backing out, paint failures
- Concrete and flatwork: cracks, heaving, settling at the garage apron and the front walk
- Roof from the ground: lifted or missing shingles, flashing pulled from walls or chimney, debris in valleys
- Gutters and downspouts: sagging, separated seams, overflow marks on the fascia
- Garage door: balance, safety reverse, weatherstripping, opener noise
- Exterior fixtures: lights, outlets with covers, hose bibs without drips, doorbell and cameras
The yearly roof inspection and the gutter cleaning are the same walk with a different purpose in later years, and the attic ventilation and insulation check is where you learn what the attic should look like so you can tell when it does not. The 11-month version of each is the one where a problem is the builder's to fix.
How do you send the list so it counts?
Send the list in writing, through the channel the warranty document names, before the tier closes, with one item per entry, a location, a description, a photo, and the date you found it. Keep your copy and the proof of sending. The send date is what the document measures; the visit can come after the tier closes as long as the report did not. A phone call to the superintendent is not a report.
If your builder uses Property Station, each item goes in as its own warranty claim from the request page, which dates it and keeps the photos and every message with it, and the Warranties list shows how many days the builder warranty has left while you write. If not, email numbered items with photos and ask for a written acknowledgment listing the item numbers received. Then prepare for the repair visits; how to get ready for a builder warranty service visit is the next step, and it starts with the list you just sent.
Common questions
Why is it called the 11-month inspection?
Because the workmanship tier of many builder warranties runs one year from closing, and the inspection needs to happen far enough before that date for the list to be written, sent, and received. A month before is the usual margin. If your document's first tier is a different length, count back a month from that date instead.
Should I hire an inspector or do it myself?
Hire one if you can. An inspector who does new-construction work knows the common defects for your builder's type of house, carries the tools for the attic and the roof edge, and writes a report the builder's warranty staff are used to reading. Do it yourself with the checklists here if you cannot, and be thorough rather than quick.
What if I find something after the window closes?
Send it anyway, in writing, with the date you found it, and read the document for what still applies. The systems tier and the structural tier are often still open, and some documents allow a short reporting period after discovery. A cosmetic item found late is the one most likely to be declined, which is why the inspection happens before the date and not after.
Does the 11-month inspection cover the roof?
Yes, from the ground and from inside the attic, and from the roof itself only by someone equipped to be there. Look for shingles that have lifted or shed granules, flashing that has pulled away, and any daylight or stain in the attic. Roofing installation is commonly a workmanship item, so this is the window to report it.
What should you do next?
Find the effective date in your warranty document, count forward to the end of the workmanship tier, and put the inspection a month before it on the calendar today. If you have not read the document since closing, the guide to reading it explains the tolerance table you will be measuring against, and the maintenance the document expects is already a recurring schedule if you set it up in the first month.