On this page
Stain a wood fence in two passes: an inspection walk first, then the cleaning and the stain. On the walk, push every post, probe the base of each one with a screwdriver, and check the gates. Then clean the fence, let it dry for a few clear days, confirm water soaks into the pickets, and apply a penetrating stain in thin coats with the grain, back-brushing so nothing puddles. Fix the posts before the stain; a fence with a rotten post looks fine for a year and then lies down in a storm.
A penetrating stain soaks into the wood and is renewed by cleaning and recoating; a film-forming finish sits on top and has to be stripped when it fails. For a fence, the penetrating kind is the easier choice.
Why does a fence need inspecting before staining?
Inspect first because the parts of a fence that fail are the ones the stain never touches. Posts rot at the ground line where the wood stays damp, gate posts loosen under the weight of the gate, rails pull away from posts as the fasteners rust, and pickets at the bottom wick water from soil and mulch. Stain slows the graying and checking of the pickets, which is worth doing, but it does nothing for a post that is soft at the base. Find those first so the weekend goes to the right job.
The fence walk
- Push each post sideways; it should not rock
- Probe the base of each post with a screwdriver, on all four sides
- Lift each gate; sagging means a loose hinge post or a missing brace
- Look at every rail-to-post joint for gaps and rust streaks
- Check for pickets touching soil or mulch, and for green or black growth at the bottom
- Note ivy, vines, or shrubs pressing on the boards
How often should you stain a fence?
Stain a fence when water stops beading on the pickets, which on a fence in full sun is often every couple of years and on a shaded, north-facing run can be longer. The label on the can gives its own recoat interval, and the label outranks this guide. Do the inspection walk every spring whether or not the fence is due for stain, because the posts do not care about the calendar. A run that gets sprinkler overspray every morning needs both more often.
What do you need?
A screwdriver for probing, a level, a deck cleaner and a stiff brush, a hose or a pressure washer with a wide tip, exterior screws and a drill for loose rails, a penetrating fence stain, a brush plus a roller or a sprayer, plastic sheeting for the plants, and eye protection and gloves. For a post that has to come out, add a post-hole digger, gravel, and concrete or a post base.
- Screwdriver and a level
- Fence cleaner, a stiff brush on a pole, and a hose or a pressure washer with a wide fan tip
- Drill, exterior-rated screws, and galvanized or stainless fasteners for rails and hinges
- Penetrating fence stain, enough for two thin coats of the square footage on the label, both sides if you are doing both
- Brush for rails and post tops, plus a roller for panels or a sprayer with a back-brush
- Plastic sheeting, eye protection, gloves, and old clothes
What are the steps?
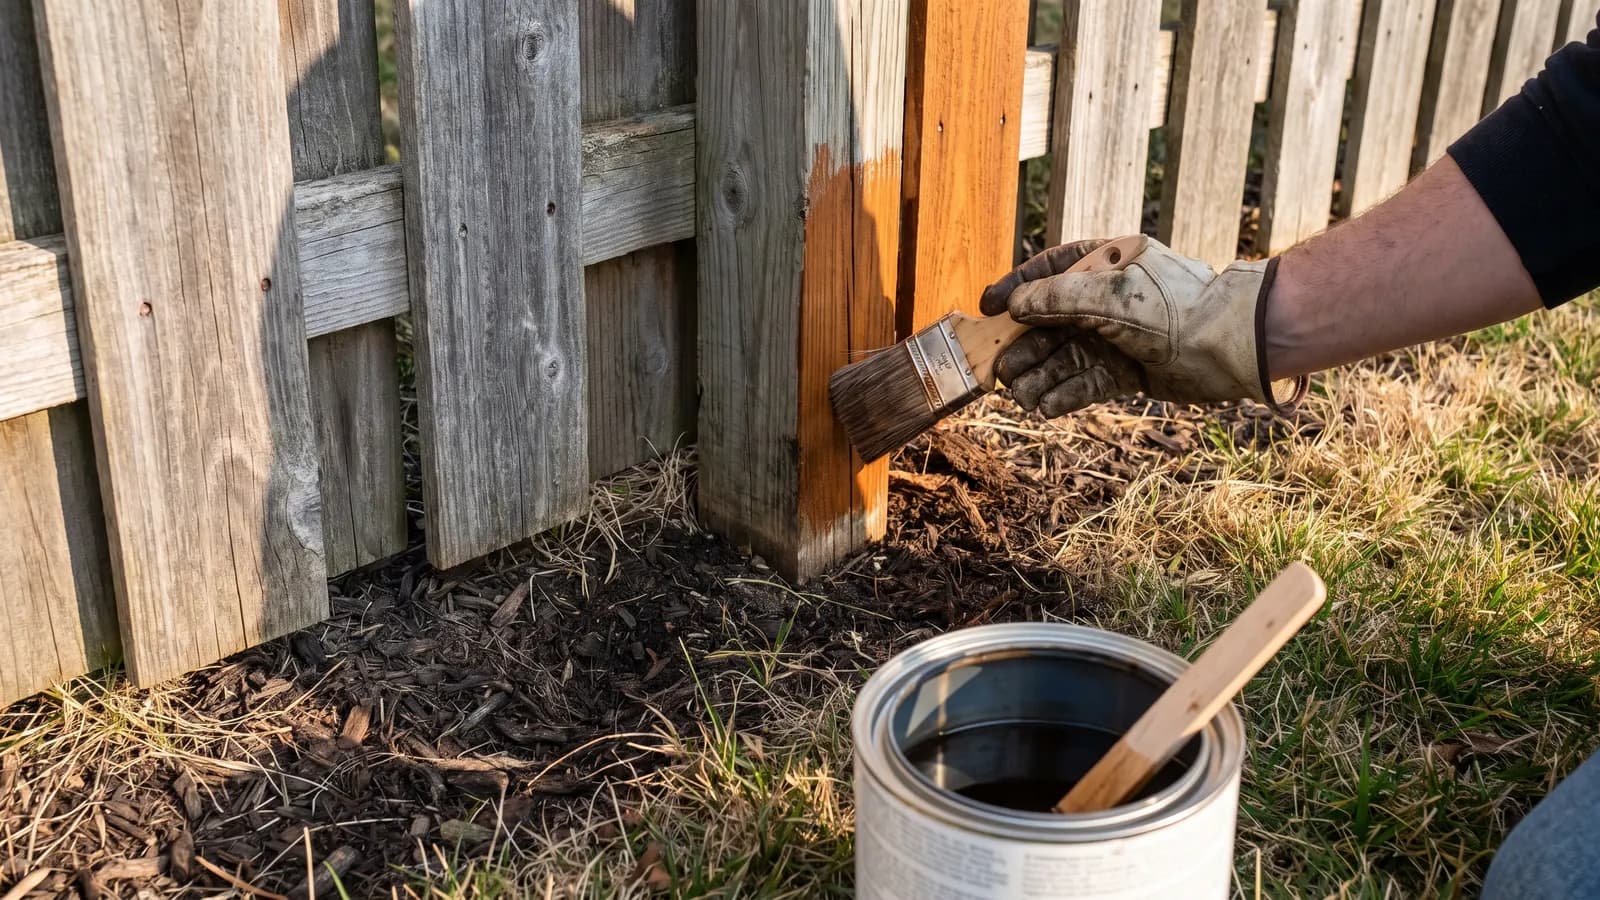
Do the walk and fix the structure first, then trim back anything touching the fence, clean with the grain, rinse, let it dry, sand the fuzz, cover the plants, and stain from the top down in thin coats, back-brushing as you go. Do one side at a time and finish each panel before you stop, so the laps do not show.
- Walk the line with the checklist. Mark any post that rocks or probes soft, any sagging gate, and any loose rail with tape. Done when: every post has been pushed and probed.
- Reset or replace the marked posts first. Refasten loose rails with exterior screws, and rehang a sagging gate on a plumb post with a diagonal brace or a turnbuckle cable.
- Cut back shrubs, vines, and grass so nothing touches the boards and air moves along both sides. Pull mulch or soil away from the bottom pickets.
- Wet the fence, apply the cleaner as the label directs, let it sit without drying, and scrub with the grain.
- Rinse from the top down. With a pressure washer, use the wide tip at low pressure and keep it moving with the grain, the way you would on a deck. Done when: the rinse water runs clear.
- Let it dry through two or three clear days. Done when: sprinkled water soaks into a picket within a minute.
- Sand any raised grain lightly and brush off the dust.
- Cover the plants, the walkway, and anything next door that could catch overspray.
- Stain from the top down, one panel at a time, with the grain. Coat the post tops and the cut ends of the pickets heavily, because end grain drinks stain. Back-brush anything that pools. Done when: the panel is evenly wet with no shiny spots.
- Wipe off any excess after the wait on the label, and add a second thin coat if the label allows it.
When should you stop and call a pro?
Call a fence contractor if more than a few posts are soft or rocking, if the fence leans as a run rather than at one post, if a post sits in a spot where you cannot dig safely, or if the fence is a retaining structure holding back soil. Digging any post hole starts with a call to 811; the Electrical Safety Foundation International points out that power lines run underground too, and the locate service is free. Stop if the digger hits anything unexpected.
A fence on a property line is a shared structure in most places; before replacing it, check your survey and talk to the neighbor. Pool fences are life-safety equipment with their own rules; do not remove or alter one without checking local code.
On a new-construction home, a fence installed by the builder is usually covered by the workmanship warranty at first, and a post that heaves or a gate that sags in the first year is worth photographing and reporting in writing. Check your warranty document for what it says about fences and grading.
What should you record?
Record the date of the walk, which posts were reset or replaced, the stain product and color, how many coats, and photos of each run from the same spots so next year's comparison is easy. If shared, note what the neighbor agreed to. Set the spring walk as a recurring task and log the stain job against it when it is done; in Property Station the Maintenance page keeps the completion history with the photos attached.
Common questions
Should I stain both sides of a shared fence?
Ask the neighbor before you do anything to a fence on the property line, because it is often shared and the far side is theirs. Agreeing on one product and doing both sides in the same season protects the wood better than one side alone. Check HOA rules for approved colors before buying.
How long should I wait to stain a new fence?
Until the wood is dry enough to take the stain, which the water test tells you. Pressure-treated pickets arrive wet and can take a season; cedar and redwood dry sooner. Sprinkle water on a picket in sun: when it soaks in and darkens the wood instead of beading, it is ready.
Spray, roll, or brush?
A sprayer is fastest on pickets but drifts in any wind and still needs back-brushing to work the stain in. A roller suits flat panels, and a brush handles rails, post tops, and the cut ends that soak up the most. Whatever you use, cover the plants and the neighbor's side.
What should you do next?
Do the fence walk this week, before you buy anything. If the bottom pickets are green or the posts are wet at the base, the problem is water, and checking the grading and drainage along that run is the fix that matters. The stain itself is the same job as sealing a wood deck, and the two share a weekend well. While you are at it, cut back the shrubs and branches that are leaning on the boards; they hold water against the wood.