On this page
Seal a wood deck when water stops beading on the boards: wash it, let it dry through a few days of clear weather, confirm that sprinkled water now soaks in, then brush or roll a penetrating sealer or stain in thin coats and wipe up anything that puddles. Work in mild weather out of direct sun, and probe the boards, joists, and ledger underneath before you start. A clean, dry surface matters more than the product; sealer over dirt or damp wood peels or blotches within a season.
Why does sealing a deck matter?
Sealing slows the two things that wear out a deck: water and sun. Bare boards soak up rain, swell, then dry and shrink, and every cycle opens checks, lifts splinters, cups the boards, and works the fasteners loose. Sun grays the surface and breaks down the top layer of fibers. A penetrating finish keeps most of the water out of that layer and slows the cycle. It does not stop a deck from aging; it lowers the odds of early board replacement.
The cleaning day is also the deck's annual inspection. The failures that matter are at the ledger (the board that ties the deck to the house), the post bases, and the stair stringers, and you only see them from underneath.
In most decks we see with real problems, the boards on top look tired but fine, and the trouble is at the ledger: water got behind it, the flashing was short or missing, and the rim joist of the house is soft. Probe there first, every year.
How often should you seal a deck?
Seal a deck when the water test fails, not on a fixed calendar. In practice a penetrating sealer on a deck in full sun wants a fresh coat every year or two, a shaded deck or a semi-transparent stain often goes longer, and the stair treads and the path from the door wear out first. The product label gives its own interval and recoat conditions, and the label outranks this guide.
What do you need?
A deck cleaner, a stiff brush on a pole, a hose or a pressure washer with a wide fan tip, a screwdriver for probing wood, a drill and exterior screws for loose boards, a penetrating sealer or stain, an applicator pad with a brush for edges, plastic sheeting for the plants, and eye protection and gloves. Buy enough product for two thin coats over the square footage on the label, plus a little for the railings.
- Deck cleaner (oxygen-based is gentle on wood and plants) and a stiff brush on a pole
- Hose with a spray nozzle, or a pressure washer with a wide fan tip
- Screwdriver, drill, and exterior-rated deck screws
- Penetrating sealer or stain, in the color you recorded last time
- Applicator pad on a pole and a brush for railings
- Plastic sheeting, eye protection, gloves, and old clothes
What are the steps?
Inspect underneath first, then clear and protect, fix loose fasteners, clean with the grain, rinse, let the wood dry for several clear days, sand the fuzz, check the forecast, and apply thin coats from the far corner toward the exit, back-brushing so nothing puddles. The wait between the wash and the coat is the step people skip.
- Walk under the deck with a flashlight and the screwdriver. Press the tip into the ledger, the joist ends, the post bases, and the stair stringers. Done when: the tip does not sink into any framing. If it does, stop and read the pro section.
- Clear the deck, wet the nearby plants, and cover them and the lower siding.
- Drive raised screws or nails back down, replace fasteners that no longer hold, and replace any board that is split through or soft.
- Wet the boards, apply the cleaner as the label says, and let it sit for the labeled time without drying out.
- Scrub with the grain, then rinse from the house outward. With a pressure washer, use the wide tip, keep the wand moving with the grain, and stay back far enough that it does not raise the fibers, the same technique as washing siding without gouging it. Done when: the rinse water runs clear.
- Let the deck dry through two or three clear days. Done when: sprinkled water soaks in within a minute in sun and in shade.
- Sand any fuzzy raised grain lightly, then sweep off the dust.
- Check the forecast for the dry window the label requires, and plan to coat when the boards are out of direct midday sun.
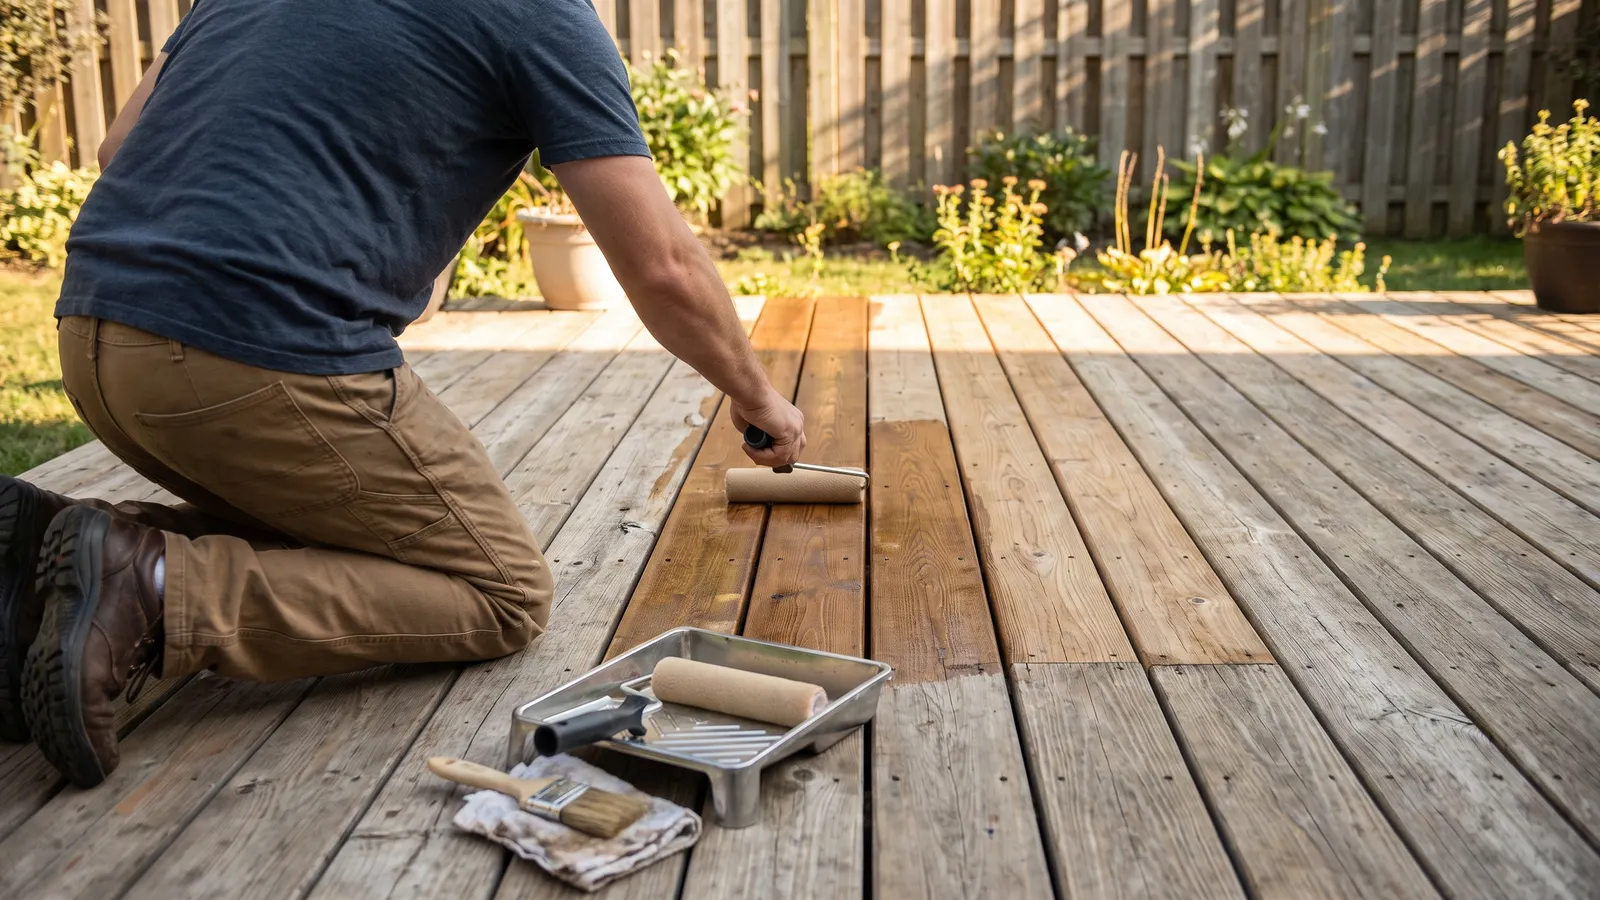
- Brush the railings and balusters first, then pad the boards two or three at a time from end to end so the laps do not show, back-brushing anywhere the product pools. Done when: every board is evenly wet with no shiny puddles.
- Wait the time on the label, then wipe off any excess that has not soaked in. A second thin coat, if the label allows it, beats one heavy one.
- Keep everyone off the deck until it is dry to the touch, and the furniture off until the cure time on the label has passed.
When should you stop and call a pro?
Stop and call a deck contractor or a structural engineer if the screwdriver sinks into the ledger, a joist, a post, or a stringer, if the deck moves when you walk on it, if the railing gives under a push, if the ledger bolts are rusted or missing, or if the deck is pulling away from the house. Structural repair needs a permit in many jurisdictions, and the ledger connection is the piece that fails hardest. A deck more than one story up means ladder work for the railings; hire that out.
A pressure washer is an electrical tool on a wet surface, and the Consumer Product Safety Commission says to plug a grounded electric washer into a properly grounded receptacle, preferably one with GFCI protection, to wear rubber-soled shoes, and never to let children operate it.
On a new-construction home, a deck built with the house is usually inside the builder's workmanship warranty at first; check your warranty document. Photograph a loose ledger, missing flashing, or a moving railing and report it to the builder in writing before you touch it.
What should you record?
Record the date, the product name and color, the number of coats, where the water test failed, and photos before and after, including the underside with the ledger bolts and post bases in frame. Set the water test as a recurring spring task with the sealing job as its follow-up. In Property Station the deck sits on the Systems & Features page with its finish and dates, so next year's can is the same color.
Common questions
How do I know if the deck needs sealing?
Sprinkle water on a few boards in sun and in shade. If it beads and sits there, the old finish is still working; if it soaks in and darkens the wood within a minute or so, the boards are bare and ready for a coat. Test the main walking path and the stair treads separately, because they wear first.
Can I seal a new pressure-treated deck right away?
Usually not. Pressure-treated lumber arrives wet from the treatment and has to dry out before a finish will soak in. The water test tells you when it is ready, and the lumber's end tag or your builder's handoff notes may give a waiting time. Test the wood instead of guessing.
Sealer, stain, or paint?
A clear or lightly tinted penetrating sealer shows the grain and is the easiest to renew, but gives the least sun protection. A semi-transparent stain adds pigment that slows graying. Solid stain and paint form a film that hides the wood and peels when it fails, which turns the next coat into a scraping job. For boards you walk on, a penetrating product is the easier long-term choice.
What should you do next?
Do the water test this weekend and put the answer in the record. If the deck is due, the fence probably is too, and inspecting and staining a wood fence uses the same cleaner and often the same can. While the sheeting is up, look over the siding behind the ledger; that wall takes more water than any other.