On this page
Fix a nail pop by driving a drywall screw a finger's width above and below it to pull the board tight to the framing, setting the popped nail just below the surface, and filling both dimples with two thin coats of joint compound before sanding, priming, and painting. Fill a hairline crack the same way, but with tape bedded in the first coat so it cannot reopen. On a new build, wait until the house has been through a heating season, and report every pop to the builder before the workmanship warranty ends.
Why do nail pops and cracks appear?
Nail pops and hairline cracks appear because framing lumber shrinks as it dries and drywall does not. As a stud or joist shrinks away from the board, the nail head stays put and pushes a small dome through the compound and paint, and the board itself shifts enough at joints and corners to crack the tape line. Most of this movement happens in the first year or two, which is why new homes settle and why the pops arrive in a wave after the first winter of heating.
In most new builds we see, the pops cluster on ceilings and the upper third of walls, and the cracks favor the corners of door and window openings and the joint where a ceiling meets a wall. A crack at that ceiling corner that opens in winter and closes in summer is usually the roof trusses lifting with seasonal moisture, not the wall moving, and builders often address it with a flexible corner detail rather than more compound.
Which cracks are settling and which are a problem?
Settling cracks are hairline, stable, and in predictable places: the corners of openings, ceiling joints, and the seams between boards. Problem cracks are the ones that change. A crack that grows week to week, runs diagonally across a whole wall, opens wide enough to slip a coin's edge into, or shows up alongside doors that no longer close and floors that have started to slope is movement in the structure, not the finish, and it needs an engineer before it needs compound.
| What you see | Likely cause | What to do |
|---|---|---|
| Small round bumps or dimples in a line | Nail pops over a stud or joist | Screw, set, fill, paint |
| Hairline crack from a door or window corner | Drying and settling | Tape and fill after the first heating season |
| Crack at the ceiling-to-wall corner that comes and goes with the seasons | Truss movement | Cosmetic; report on a new build |
| Crack that grows, runs diagonally, or opens wide | Structural movement | Photograph, measure, call an engineer |
What do you need?
A drill or screwdriver with drywall screws, a hammer and a nail set, a putty knife, a small tub of lightweight joint compound, self-adhesive mesh tape or paper tape for cracks, a sanding sponge, a damp cloth, primer, and the wall's paint. For a textured wall, a can of matching spray texture.
- Drywall screws and a drill with a Phillips bit, or a screwdriver
- A hammer and a nail set for driving the old nail below the surface
- A flexible putty knife
- Lightweight joint compound
- Mesh or paper tape for cracks
- A fine sanding sponge and a damp cloth
- Primer and the matching wall paint
- Spray texture, if the wall or ceiling is textured
What are the steps?
Secure the board first, then fill, then finish: drive screws beside the pop so the board is held by something that will not back out, set the old nail, fill in thin coats that each dry fully, sand lightly, prime the patch, and paint. Cracks get tape in the first coat. The whole job is two short sessions a day apart.
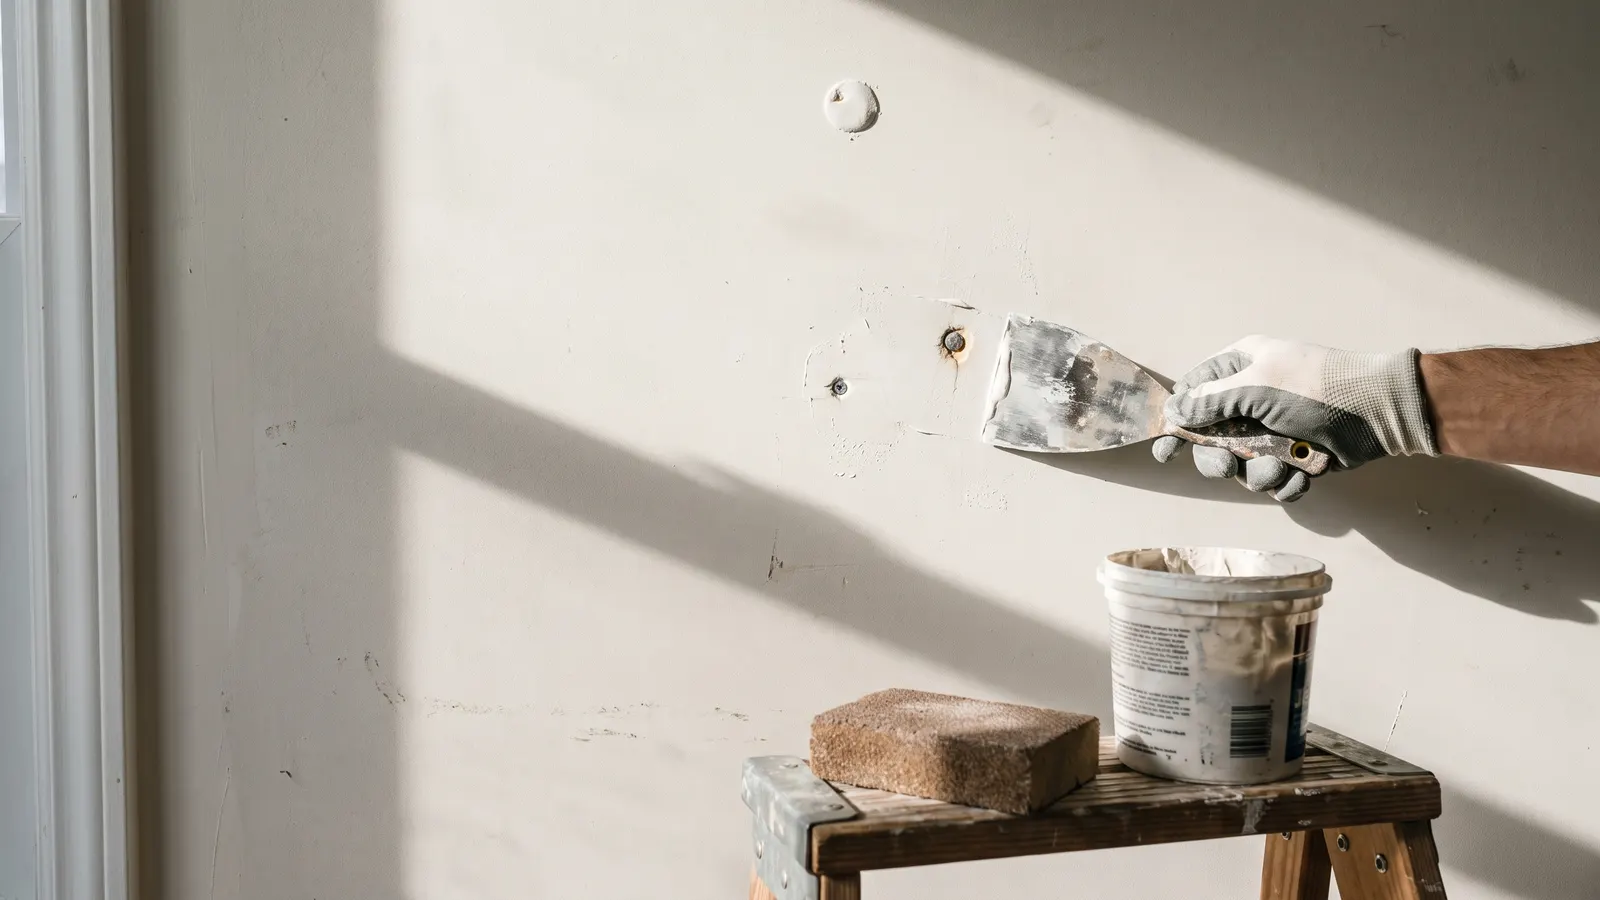
- Press the wall beside the pop. If the board moves, drive a drywall screw a finger's width above and below the pop, into the same stud or joist, until the head sits just below the paper without tearing it. Done when: the board no longer moves when pressed.
- Set the popped nail below the surface with a hammer and nail set. Do not pull it; pulling tears the paper face.
- Scrape away any loose compound or paint flakes with the putty knife and wipe the area with a damp cloth.
- For a crack, widen it slightly with the corner of the knife, press mesh tape over it, and cover the tape with a thin coat of compound. Done when: the tape is fully buried and no mesh shows through.
- Fill the dimples with a thin coat of compound, feathering the edges wider than the hole. Let it dry fully, then apply a second thin coat. Done when: the patch is flush when you lay the knife flat across it.
- Sand lightly with the sponge, wipe the dust with a damp cloth, and match any texture with the spray can, practicing on cardboard first.
- Prime the patch, then paint it with the wall's paint, using the same type of applicator that painted the wall.
Sanding in a home built before 1978 can disturb lead paint; the EPA's lead pamphlet says deteriorated paint is a hazard and that you should not remove lead-based paint yourself. Use wet sanding and wet cleanup in an older home, and keep children out until the dust is gone.
When should you stop and call a pro?
Stop and call a structural engineer, not a drywall contractor, for any crack that grows over a few months, runs diagonally across a wall, opens wide enough to take a coin's edge, or arrives with sticking doors, sloping floors, or cracks in the foundation outside. A drywall contractor is the right call for a large area of pops, a ceiling patch bigger than your hand, water-stained or soft drywall, and any repair that needs a ladder on a stairway or a tall ceiling.
On a new build, do not repair anything during the workmanship period until you have reported it. Many builder warranties cover nail pops and drywall cracks once, near the end of the first year, and a repair you did yourself is one the builder did not have to. Read your warranty document for the definition, the reporting window, and whether paint is included, and use the warranty timeline to see which window is closing next.
What should you record?
Record where each pop and crack is, the date you first saw it, and a photo with a ruler beside the crack so its width is provable later. On a new build, that list is the claim: send it as one request before the window closes, and keep the builder's response with it. In Property Station the Warranties list shows each warranty's end date and a Claim button that opens the request, so the deadline and the list live together.
Common questions
Should I fix nail pops right away or wait?
Wait until the house has been through at least one full heating season, because the framing is still drying and new pops will appear next to the ones you fixed. On a new build, also read the warranty document; many builders fix pops and cracks once, near the end of the first year, and you want every one on that list.
Why do the cracks keep coming back?
Because the joint is still moving, or because the crack was filled but not taped. Compound alone cannot hold a moving joint; it needs paper or mesh tape bedded in compound to bridge it. A crack that returns after a taped repair is worth measuring and watching.
Are drywall cracks a sign of foundation trouble?
Usually not. Hairline cracks at the corners of doors and windows and along ceiling joints are normal drying and settling. Cracks that grow, run diagonally across a wall, open wider than a coin's edge, or arrive with doors that no longer close and floors that slope are the ones a structural engineer should see.
What should you do next?
Walk every room with a flashlight held flat against the wall and list what you find, then decide whether the list goes to the builder or to your weekend. The paint step is where most repairs show, so read how to touch up interior paint so the patch disappears before you open the can, and check the doors near the cracks, because a door that has started to stick is the same settling from a different angle.