On this page
Replace washing machine hoses by closing both supply valves, running the machine for a few seconds to drop the pressure, unscrewing the old hoses with a pan underneath, screwing on new braided stainless hoses hand-tight plus a quarter turn, opening the valves, and checking every fitting for drips. It takes half an hour and removes the most common cause of laundry room floods: a rubber hose that has been under full house pressure, day and night, for years.
Why do washing machine hoses matter?
Washing machine hoses matter because they fail without warning and they fail open. When a rubber hose bursts, the water runs at the full rate of the supply until someone closes a valve, and the laundry room is often upstairs or over a finished space. A burst hose while the house is empty for a weekend is one of the worst water events a home can have short of a frozen pipe. What to do when a pipe bursts applies word for word, except that this failure is preventable with an inexpensive part.
The hoses we see fail are the original rubber ones, still connected years after the machine was installed. Bulges near the fittings and a stiff, glossy feel are the warning signs; a hose that has both is on borrowed time.
How often should you replace the hoses?
Replace washing machine hoses on the interval the hose maker prints, at the first sign of bulging, cracking, rust, or stiffness, and whenever you move into a house where the hose age is unknown. We have no verified lifespan figure to give you, so treat the packaging as the source and inspect the hoses every few months. New braided hoses come with a tag; write the install date on it.
Replace the hoses on the day you move in, new or resale, unless you can see a dated tag. Then close the valves between loads, or have a single-lever shutoff installed so it is one motion. Pressure is what bursts a hose.
What do you need?
You need two braided stainless washing machine hoses of the right length, a towel and a shallow pan, slip-joint pliers, and a flashlight. Measure from the valves to the machine's inlets with the machine pulled out; a hose that is too short pulls on the fittings, and one that is too long kinks.
- Two braided stainless hoses, hot and cold, long enough to reach without strain
- A towel, a shallow pan, and a sponge
- Slip-joint pliers and a flashlight, and a helper if the machine is heavy
What are the steps?
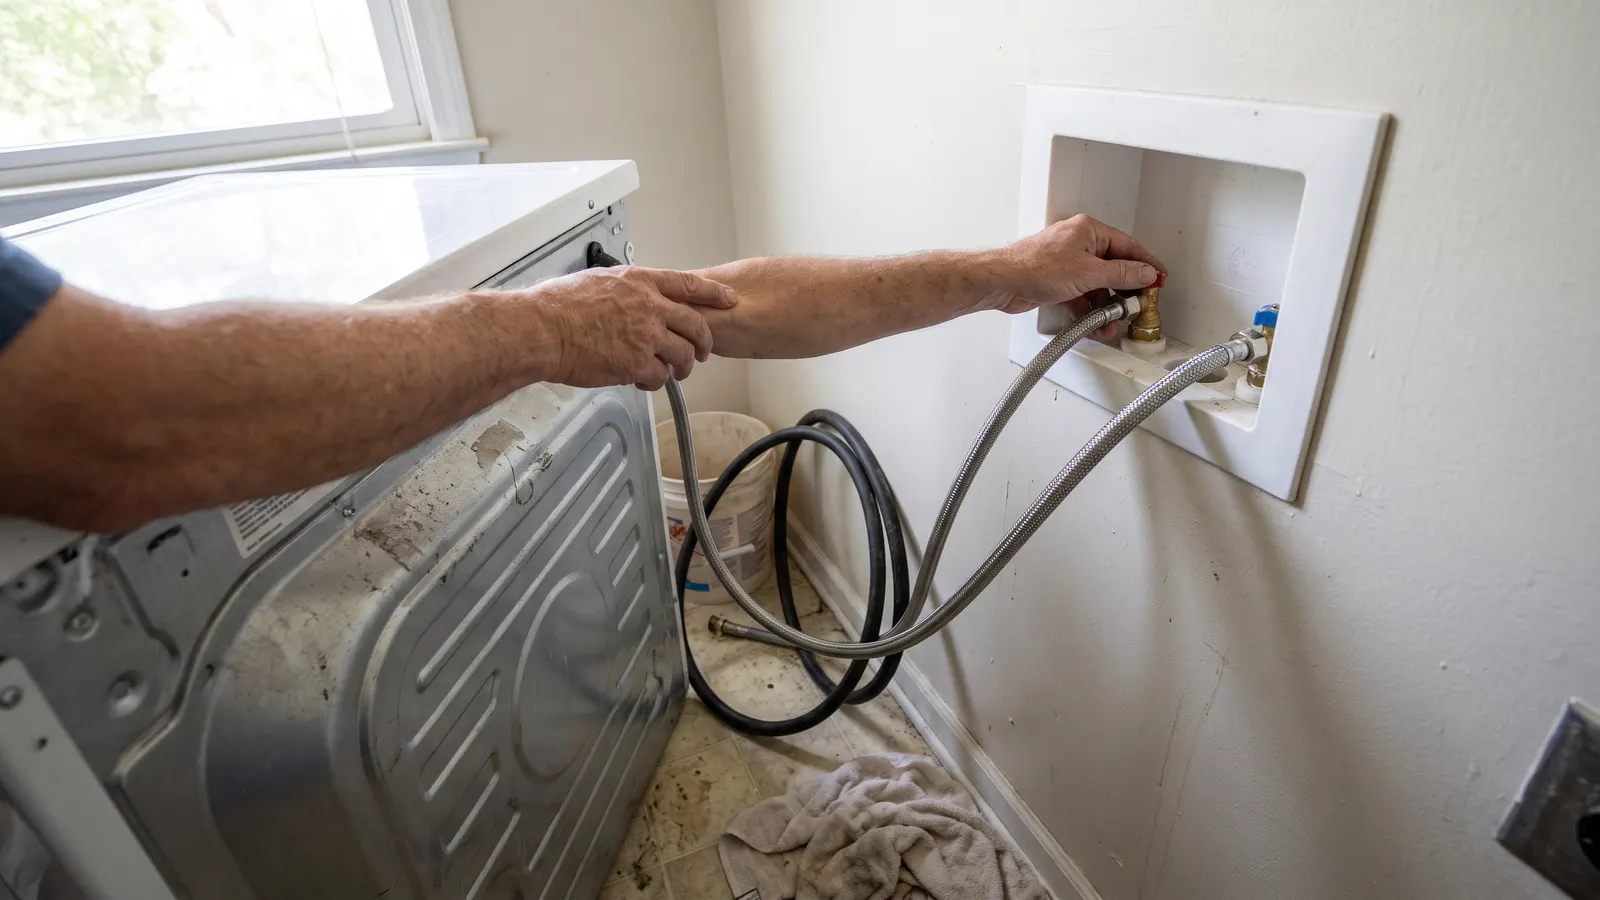
Close both valves, relieve the pressure, disconnect the old hoses at both ends over a pan, check the inlet screens, fit the new hoses hand-tight plus a quarter turn, open the valves slowly, and watch every fitting for a full minute before pushing the machine back. Then run a short cycle and check again.
- Pull the machine out far enough to reach the valves, without stretching the hoses or the drain hose.
- Close both supply valves, clockwise until they stop. If a valve will not turn or drips, stop and read the pro section below. Done when: both handles are fully closed.
- Relieve the pressure. Start a fill cycle for a few seconds, then cancel it; the water in the hoses drains into the machine. Done when: nothing sprays when you loosen a hose nut a fraction.
- Put the pan under the connections and unscrew the old hoses from the valves, then from the machine. Hold the valve body still with the pliers so you do not twist it on the wall.
- Pull the small screens out of the machine's inlets, clean them with a toothbrush under the tap, and push them back in the way they came. Replace a torn one.
- Check that each new hose has a rubber washer in each end. Screw the cold hose to the cold valve and the cold inlet, and the hot to the hot. Hand-tight until the washer seats, then a quarter turn with the pliers; a crushed washer leaks. Done when: the nut is snug and the hose has no twist.
- Open the cold valve slowly and watch both ends of the hose for a minute, then the hot. Wipe each fitting with a dry paper towel and look for damp. Done when: every fitting is dry after a full minute at pressure.
- Run a short rinse cycle with the machine still pulled out and watch the fittings during the fill. Push the machine back without kinking the hoses and check once more with the flashlight.
When should you stop and call a pro?
Stop and call a plumber when a supply valve will not close, leaks at the stem, or keeps passing water with the handle closed; when the valve body turns in the wall as you loosen the hose nut; when the wall or floor behind the machine is soft, stained, or moldy; or when the machine is upstairs with no drain pan and you want one added. Old gate-style laundry valves are a good candidate for a single-lever replacement, which opens the wall and is a plumber's job.
What should you record?
Record the install date, the hose brand and length, and the condition of the old hoses when they came off, because a bulge on a hose only a few years old points at high pressure. Note whether the valves closed cleanly. Put a quarterly hose inspection and the replacement interval on the maintenance schedule; in Property Station the check is a Maintenance task with Frequency (months) set to the maker's interval. The laundry room fits in one task with the dryer vent cleaning, and the home record keeps both dates.
Common questions
How often should washing machine hoses be replaced?
Follow the interval printed on the hose or its packaging, and replace sooner if a hose bulges, cracks, stiffens, or shows rust at the fittings. Hose makers publish their own life figures; we have no verified number to give you.
Are braided stainless hoses worth it?
A braided stainless hose has a rubber core protected by a woven steel jacket, so a split in the core is contained rather than spraying. They cost a little more than plain rubber. Buy ones with a testing laboratory mark on the package.
Should I turn the valves off after every load?
Closing the valves between loads removes the pressure from the hoses, which is the only thing that can burst them. It costs a few seconds, and it is why single-lever laundry valves exist.
What should you do next?
Pull the machine out this weekend and look at the hoses. If they are rubber, or you cannot say how old they are, buy the braided pair and do the swap; the dryer vent is behind the same machine and gets cleaned in the same hour. Then set the habit: valves off between loads.